3D Wizards Inc.
Table of Contents
Overview
3D-Wizards Inc. is a business that develops and sells 3D printed products. The web application for the online store is currently under development, but the final application will allows users to browse items, make orders, and get in contact with the business owners.
The Problem: For the past year we have been a popular staple of physical marketplaces like the Aloha Stadium Swap Meet, the Lineup at Wai Kai, and the Pearlridge Center just to name a few. However we have a disappointingly finite stock and variety of options. In theory we should be able to quickly turn around custom orders, especially custom colors of products we already produce, due to the nature of 3D printers. However we’re so focused on having enough normal stock for our locations that we don’t have time to check and respond to instagram DM’s or emails with lucrative custom orders. People also are unclear about their options when it comes to what we regularly make and how to order in bulk.
The Solution: We want to build my company a website where prospective customers can easily put in orders, with an admittedly overwhelming number of custom options, in a welming user-interface.
Our team contract with all of the member’s signatures can be found here, and the GitHub organization contains the repositories associated with this project.
Approaches
Our implementations have gone very smoothly. At the moment our site could absolutely be used to improve the productivity of the real 3D Wizards buisness. We will actually be making the whole site more practically usable in the near future but most of the features work well and as we had hoped.
Online Store
- Potential customers should be able to browse a wide variety of our products.
- Customers should be able to add items to their cart and checkout.
- Even just sending us the requests this way would drastically improve productivity but a stretch goal would be to actually process payments through the web application instead of in person on delivery.
Custom Orders
- We designed a graphical interface to choose specific custom colors/filament materials for different parts of the 3D model.
Business Collaboration
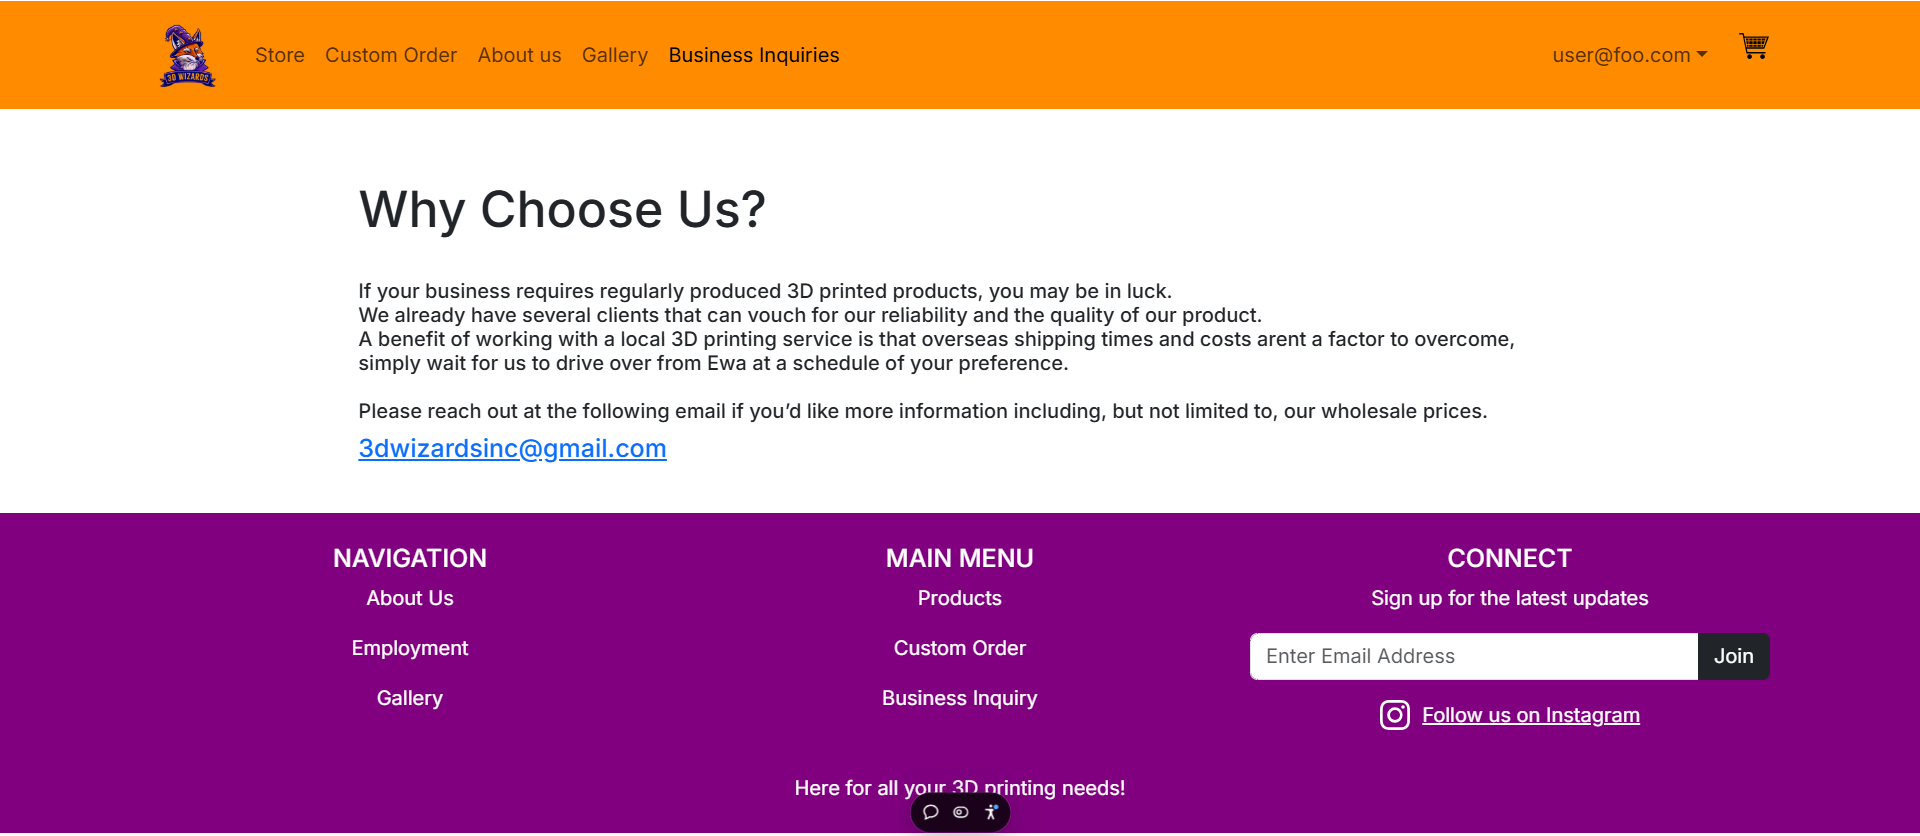
- We have options for how we can collaborate and how a business can move forward with working with us.
Use Cases
- We have had people approach me to print all the individual pieces for an Iron Man suit or a knight’s armor, the custom project page would be perfect for this.
- Many parents want to buy a specific toy for each child in their life in their favorite color, the basic shop page would make this drastically easier.
- A business that wants to either start mass producing a product or even just get a prototype could take advantage of this webapp.
User Guide
This section will guide the user through all of the implemented functionality of the online store. The website deployed to Vercel can be accessed here.
To fully test the web app, use the following admin login: email: temptestadmin@314.com pw: tester
Landing Page
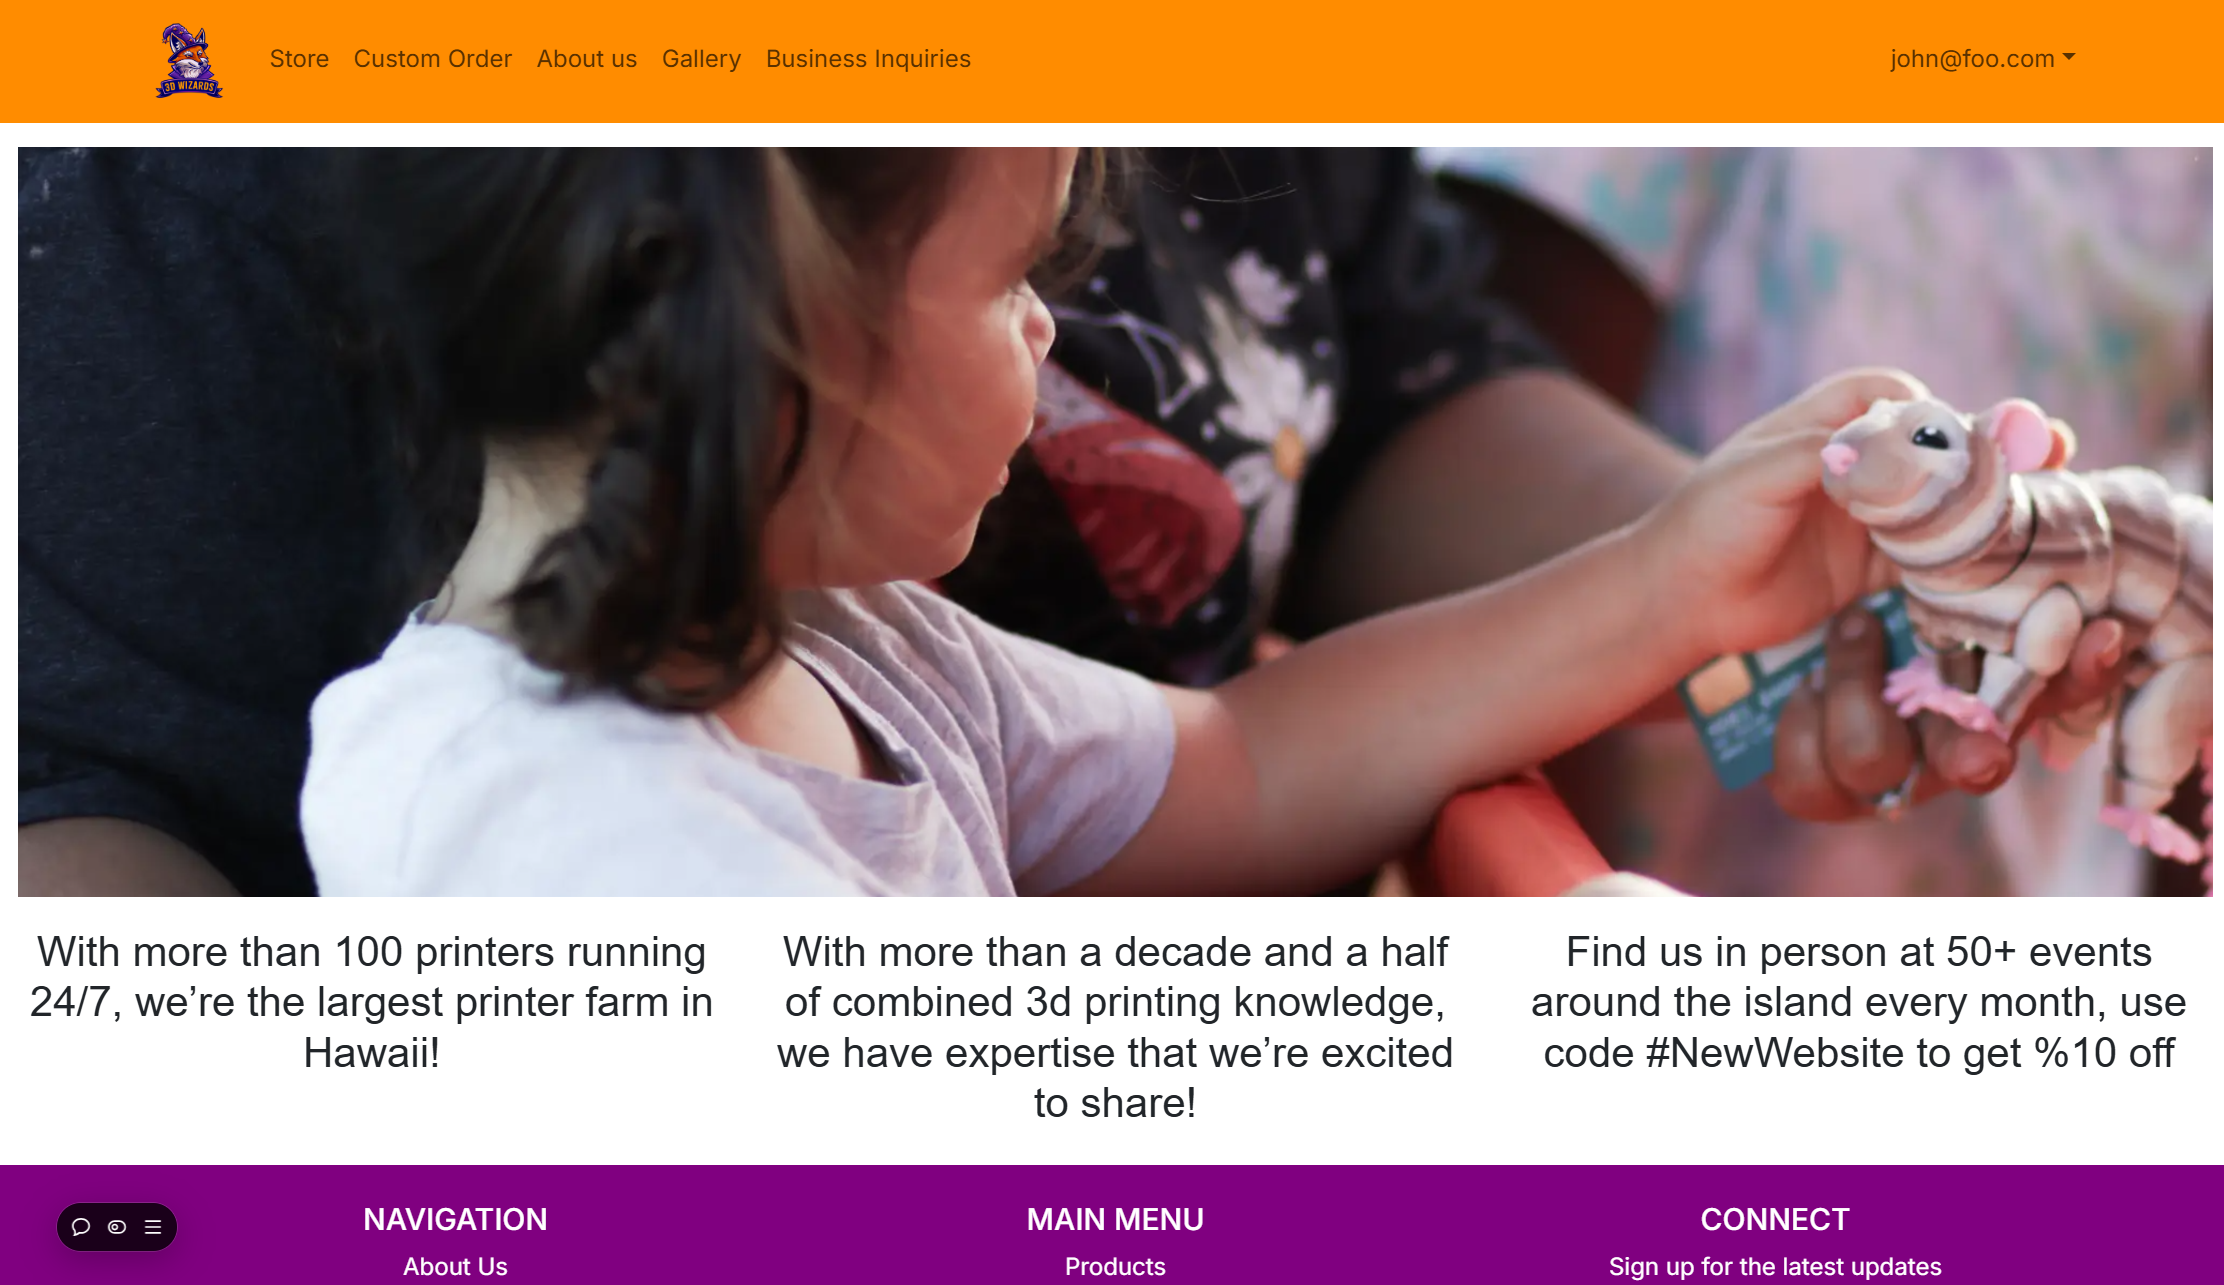
This is the home page of the store, which all users will initially be directed to. From the navbar, various pages and functionality can be accessed such as creating an account and browsing the store page.
Creating an Account
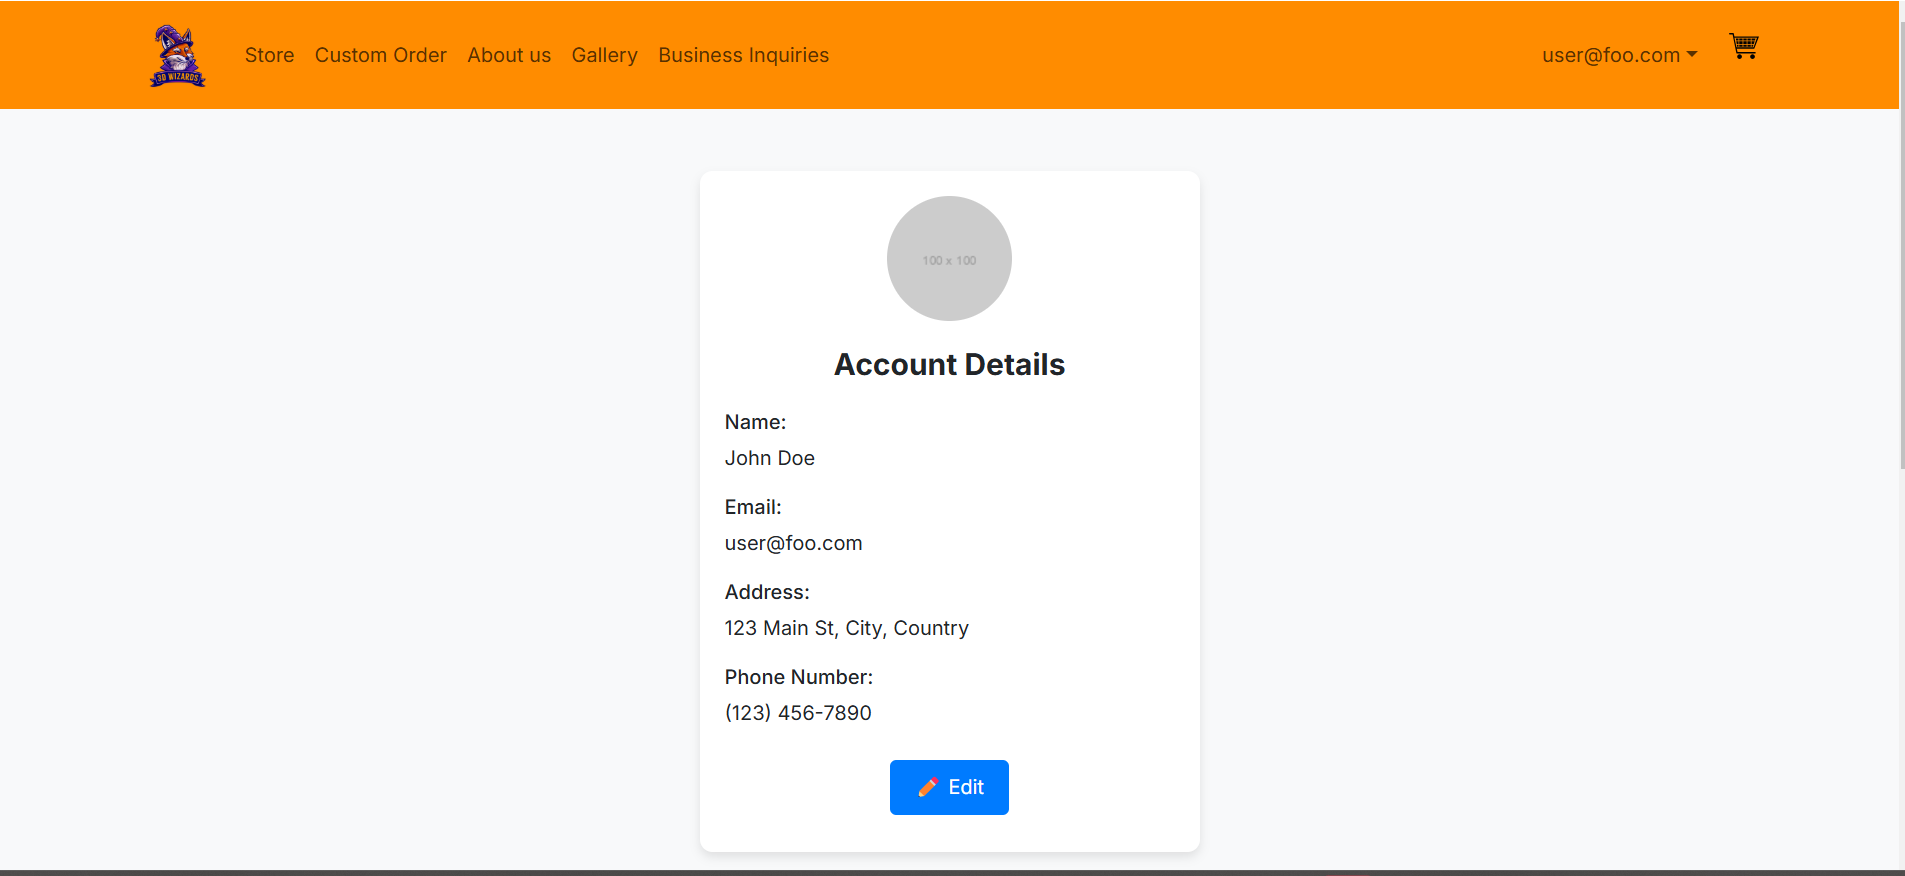
Users will initially want to create an account. This can be done via the dropdown on the right side of the navbar. Once a user makes an account the user is free to browse all the pages, pick which products they want, add them to their cart, and eventually check out. Above is the account page that users will be directed to after creating an account
Store Page
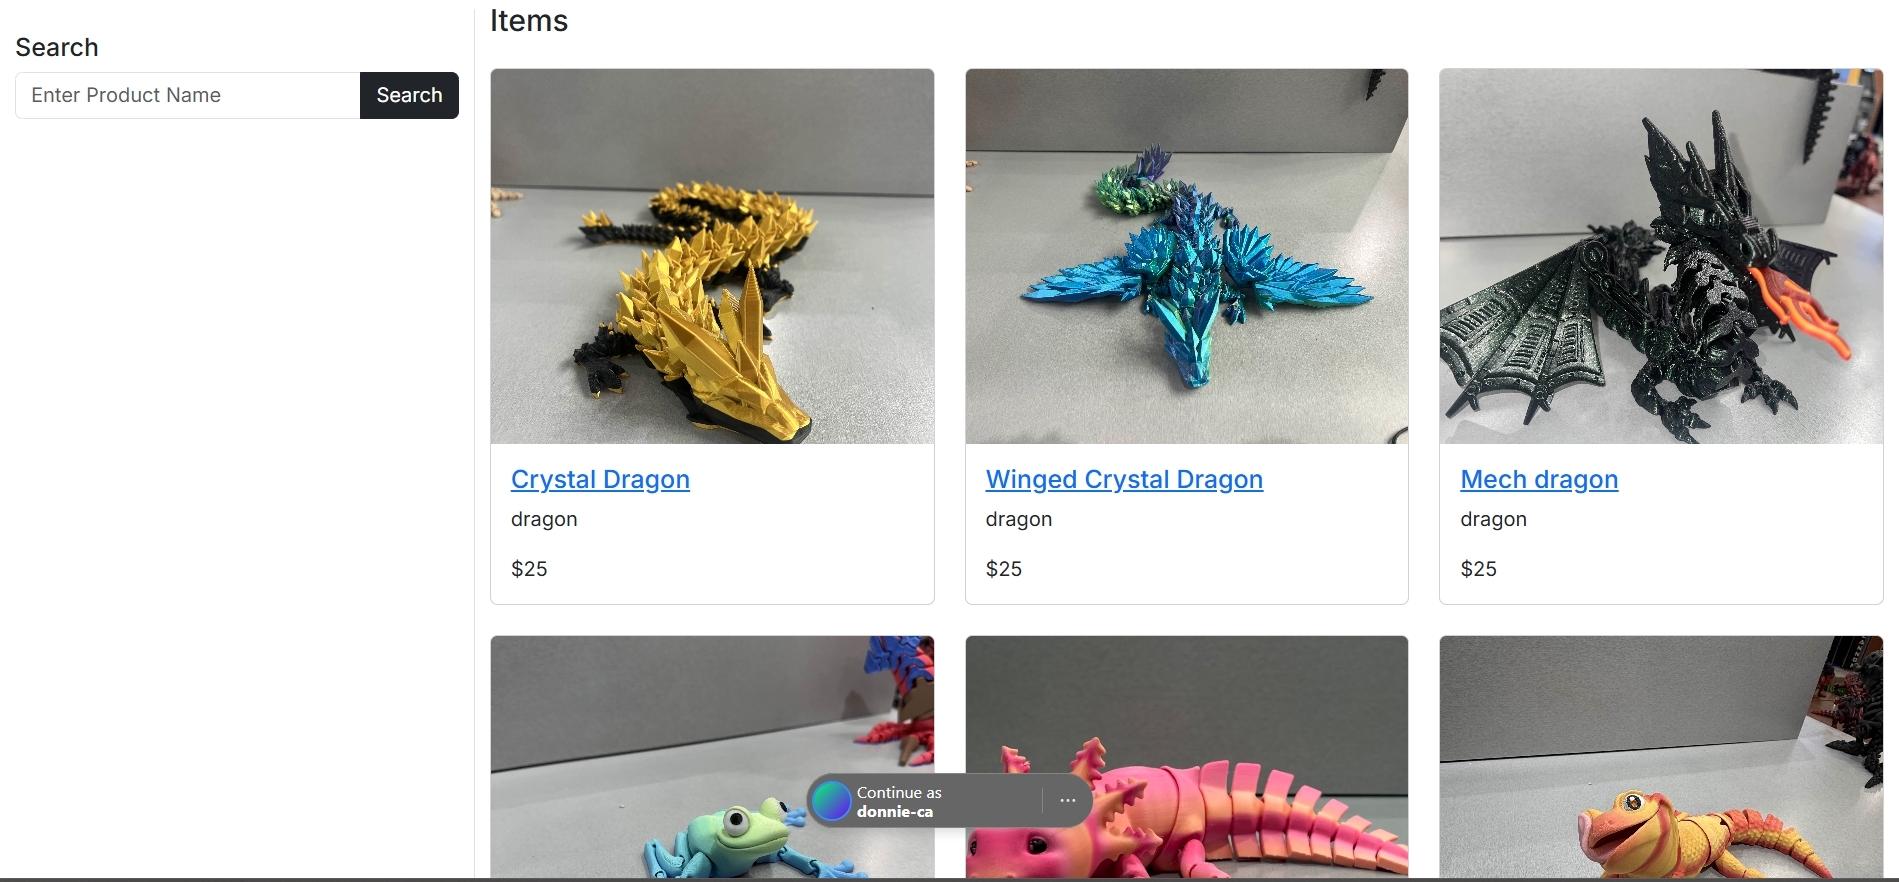
Customers are able to browse the full catalog of items as well as use the left column search for items. Clicking on a product will lead to a subpage where users can specify the quantity and colors of their order.
Cart Page
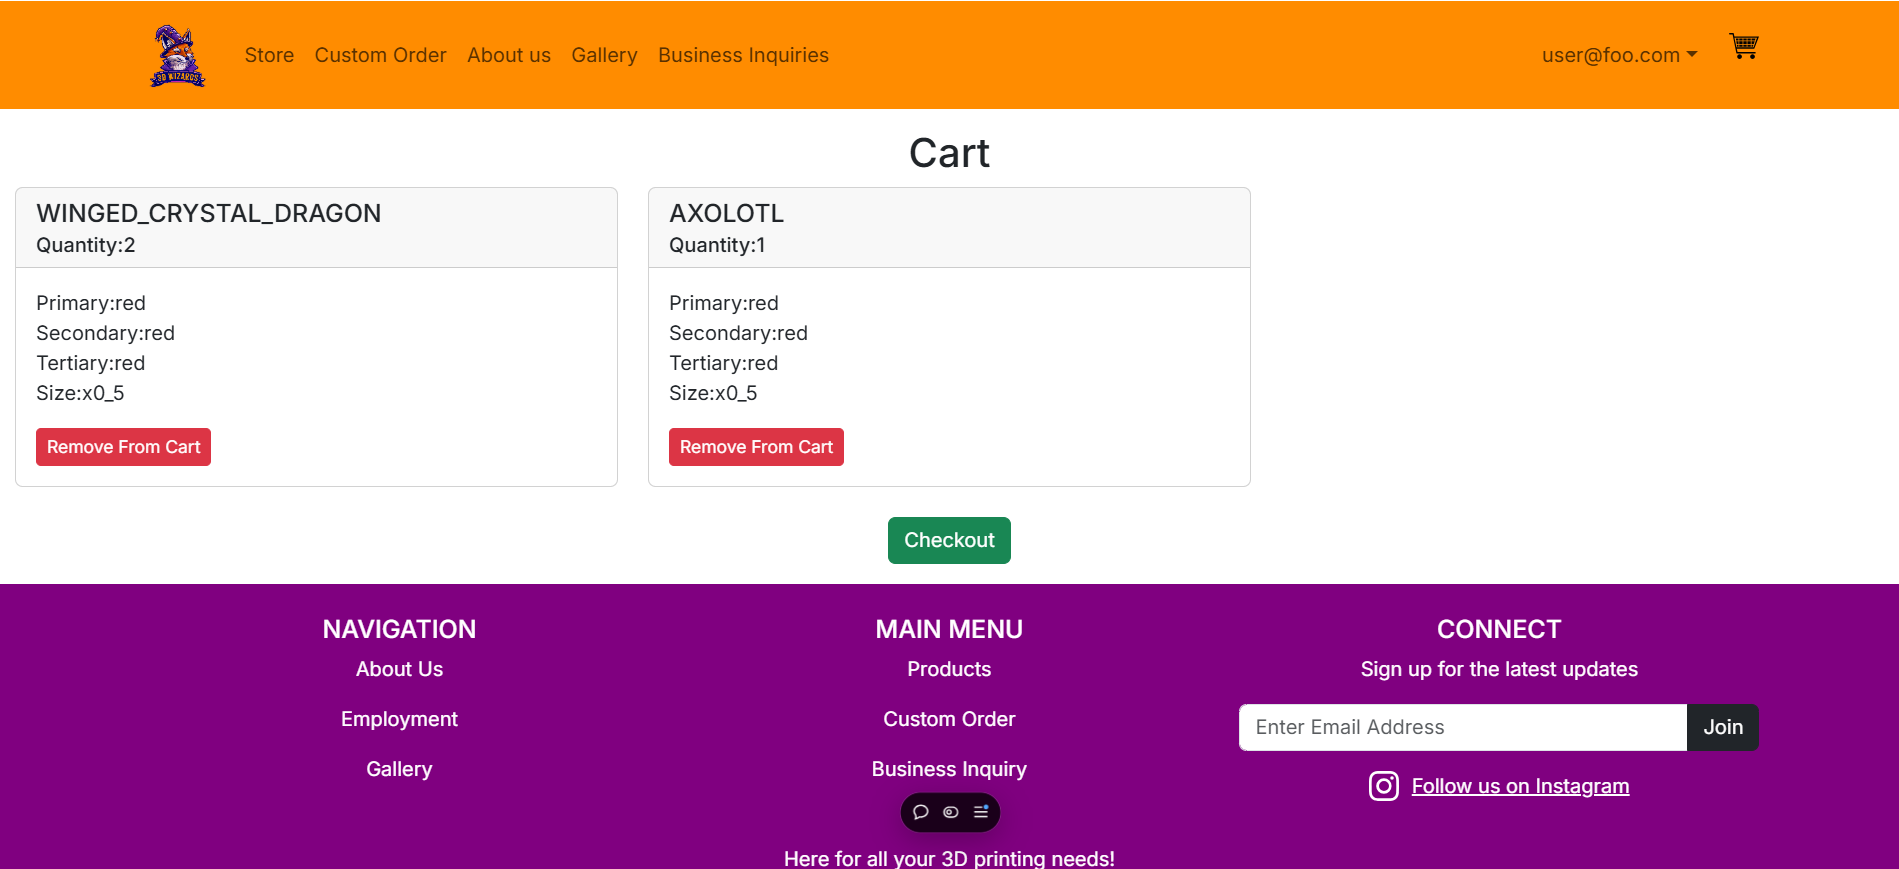
Once a user has submitted their order, it will show up on their cart page which can be accessed on the right side of the navbar. Here, users can remove items from their cart or proceed to checkout their order.
View your orders
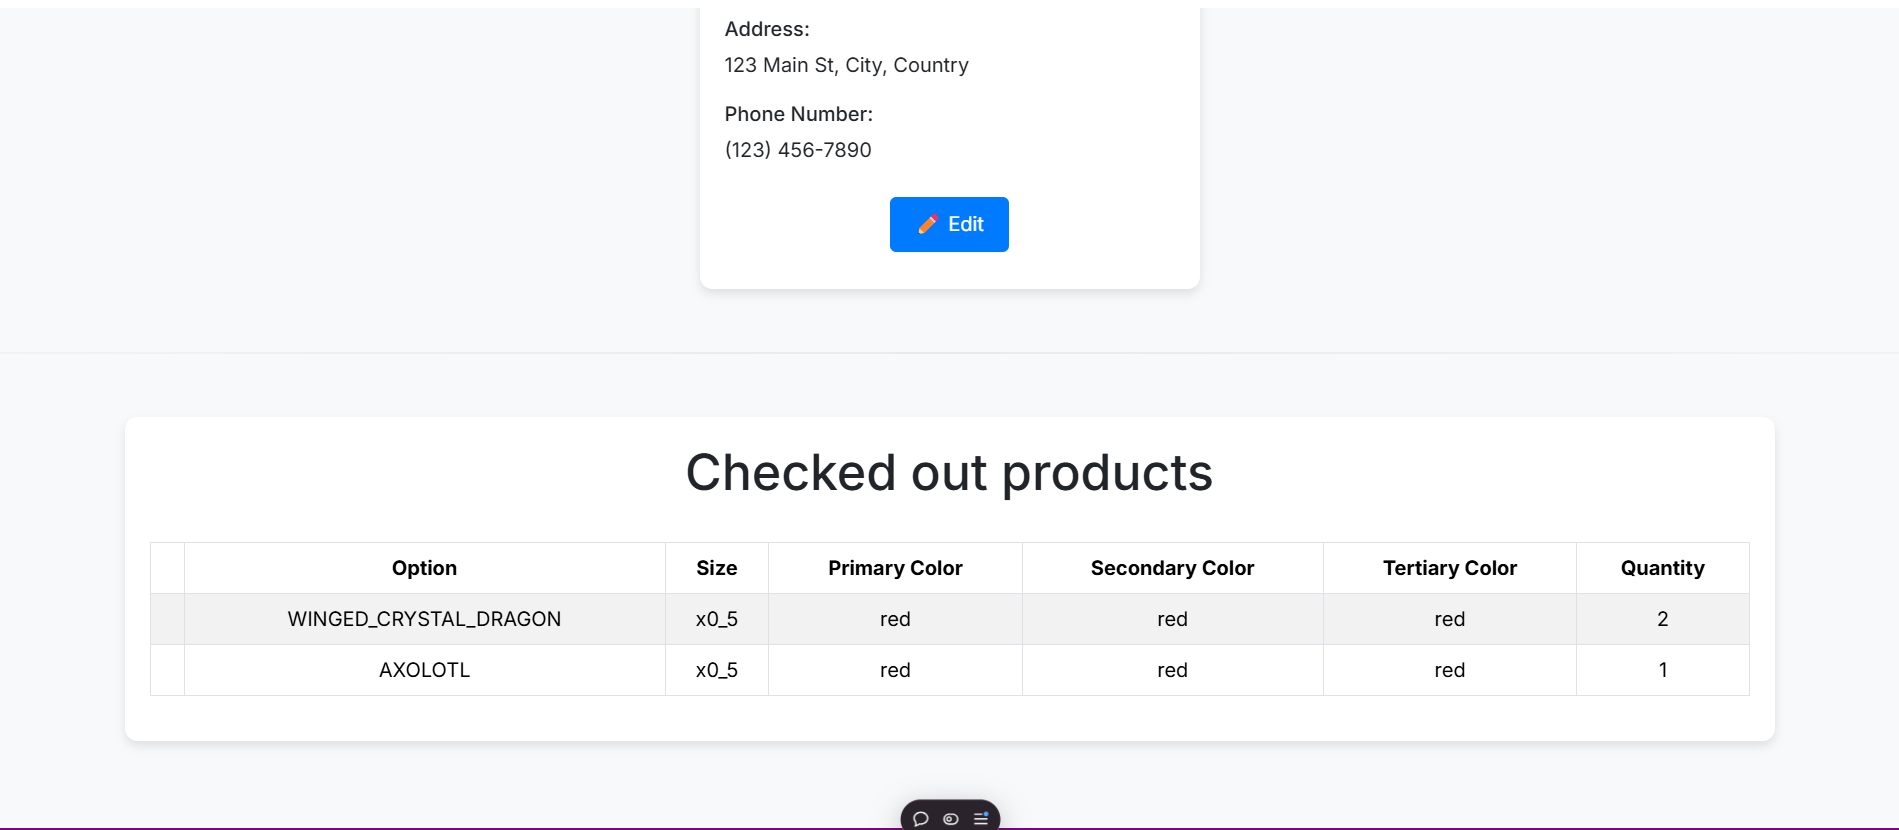
The account page will also display all past orders the user has made
Custom Order Page
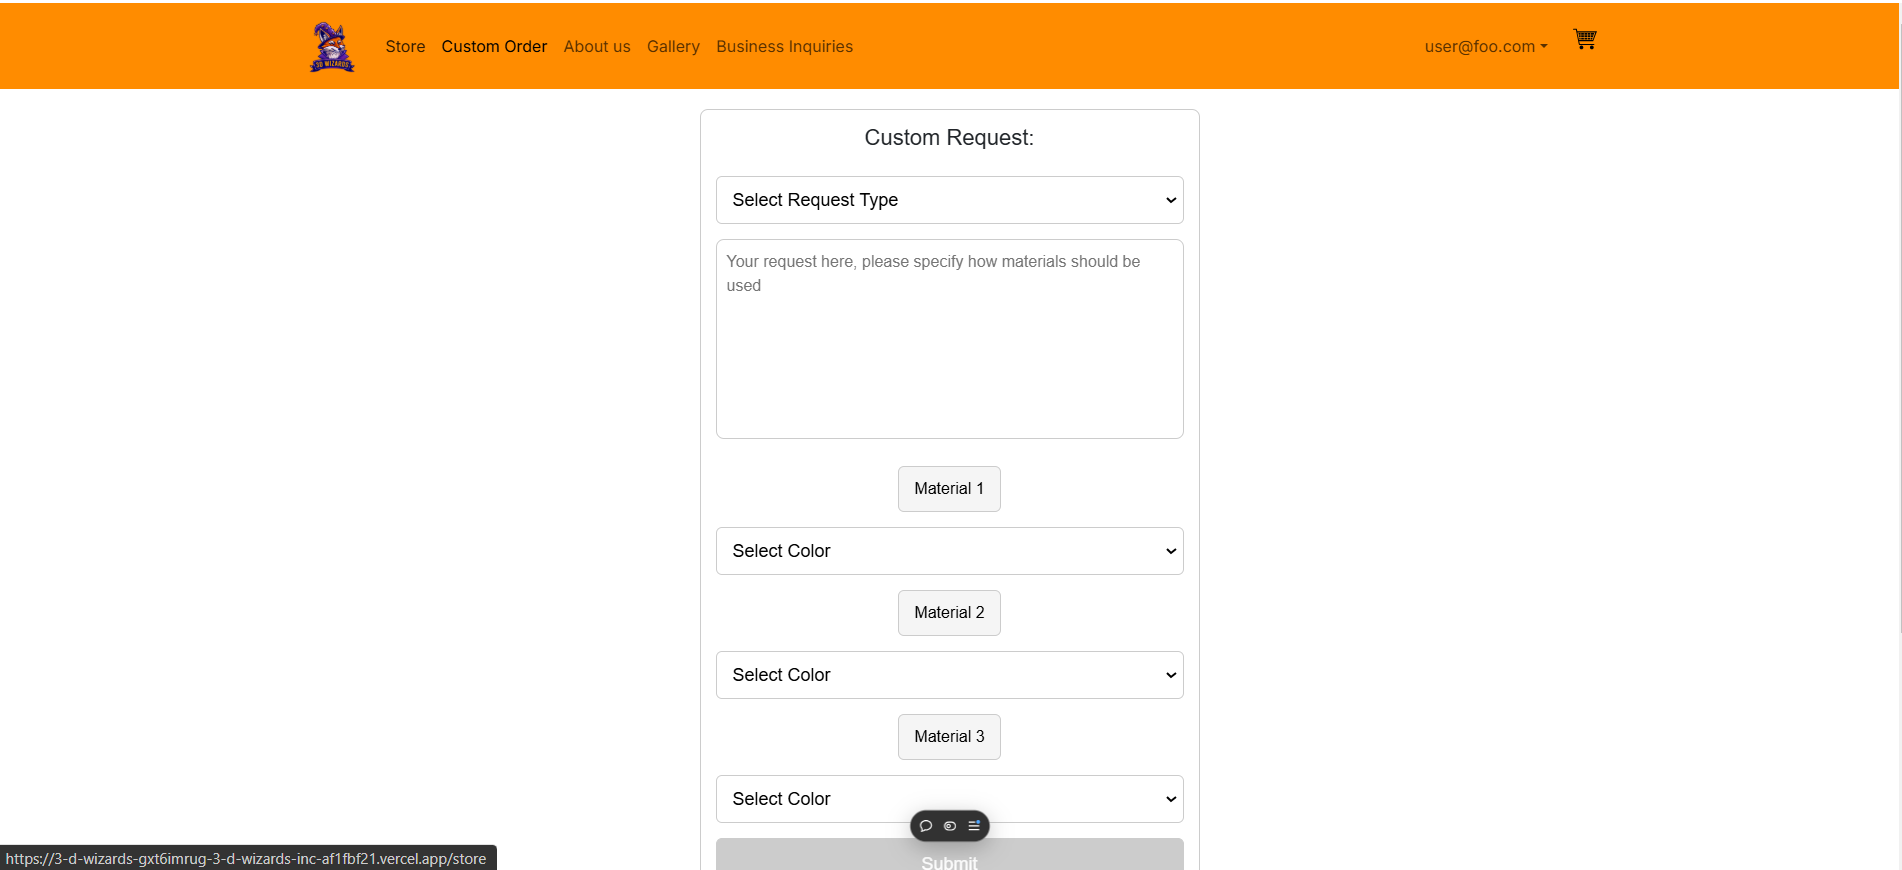
Sometimes, customers will want something a little more specific. In the custom order page, they can choose to modify a version of a product in the store or request a completely custom 3D design. Users are required to fill out the text box to provide additional information on their custom order and can also choose up to three colors
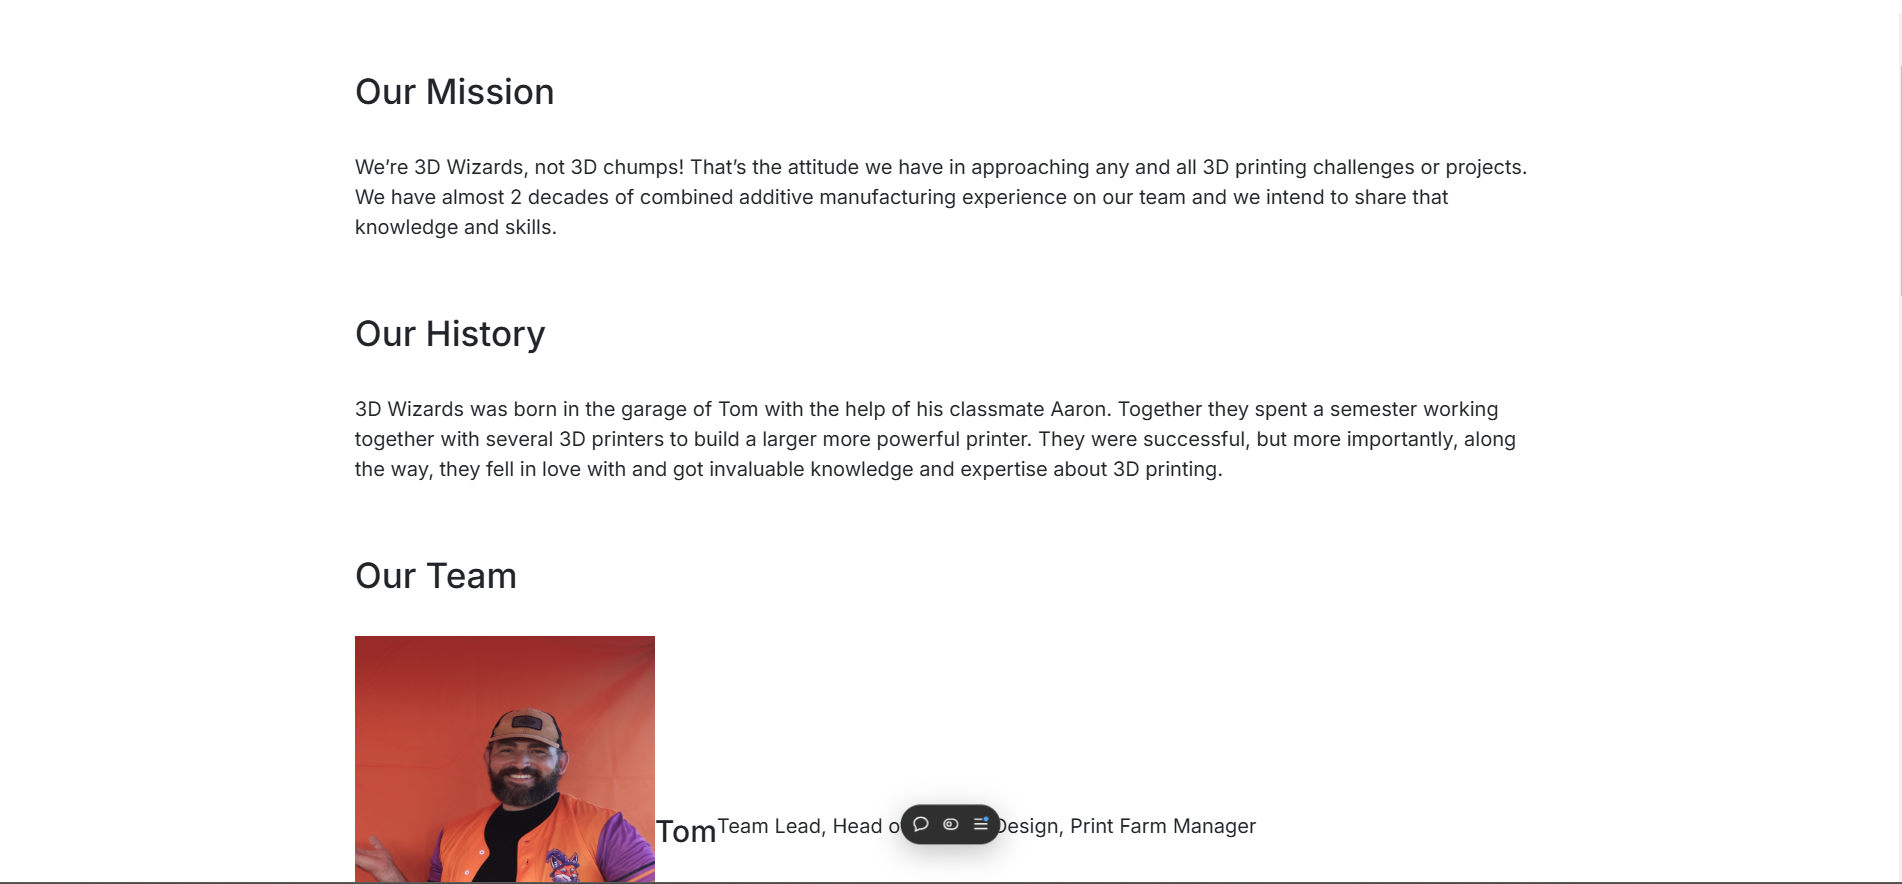
About Us Page
Business Inquiries Page
Community Feedback
Overall, there is a lot of constructive criticism to take away from the feedback we recieved. While the website seems easy to use and functions well, some things can be improved. In particular, the website not looking to standard on mobile devices is the main criticism we have noticed, as well as additional product descriptions and general aesthetics of the site.
Developer Guide
This section will guide a developer through the process of downloading, installing, and modifying the system.
-
Cloning the repository
First, developers will need to clone the repository to their workspace. In the github organization, the project’s repository can be accessed and cloned.
-
Installing packages
Before doing this, developers will need to use Node.js to execute the code. To install all required packages, the developer can run “npm install”.
-
Modifying the system
Now that the required packages are installed, the project can be modified to implement changes or debug issues. To test changes before commiting, the developer will need a postgres server running and then run the command “npm run dev”. This will run the project on the user’s local host. After commiting and pushing changes, the vercel project will automatically deploy and the website may be viewed on vercel.
Acceptance testing/CI status badge
Milestone project pages
The milestone pages show which issues were completed for that milestone and which team members worked on the issues.